On unix, decompress and untar the ehed source distribution:
gzip -d -c ehed.tar.gz | tar xvf -
On Windows95 or NT systems:
unzip -d ehed.zip
The ehed distribution includes the JDK1.1.5 compiled .class files for ehed and
supporting libraries, so you shouldn't have to recompile anything unless you're using an
earlier version of the JDK. In the ehed root directory, there is an initialization file, .ehedrc,
that needs to be set up before running ehed. It contains the following lines:
ehwtrcLocation C:\Program Files\eh\ehwt\

ehwtHomeLocation C:\Program Files\eh\ehwt\home\
These should match the corresponding ehwt directories:
ehwtrcLocation should point to the directory containing ehwt's .ehwtrc
file
ehwtHomeLocation should point to ehwt's world cache directory
NOTE: the directories specified should end with a
directory separator (\ or /)
In the ehed root directory (or from elsewhere, if the ehed directory is in your
CLASSPATH), simply type:
java ehed
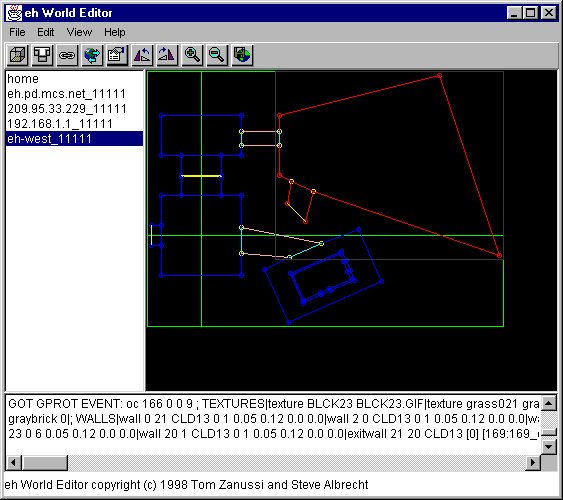
This should result in ehed's main window being displayed:
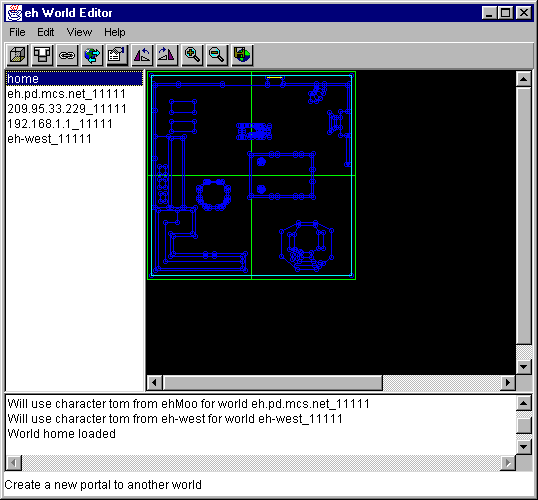
The left pane of the main window displays a list of the worlds found in the world cache.
The right pane displays an overhead view of the world currently being edited i.e. the
world selected in the left pane. The bottom pane displays a scrollable list of error,
warning, and informational messages. When ehed starts up, it reads the contents of the
world cache directory and creates a row in the left pane for each world (subdirectory) it
finds. It then reads the contents of the .ehwtrc file and looks for any addworld
entries, which point to information specifying DNS host/port and character/password info
for the corresponding world. If there is no addworld entry for a world found in the world
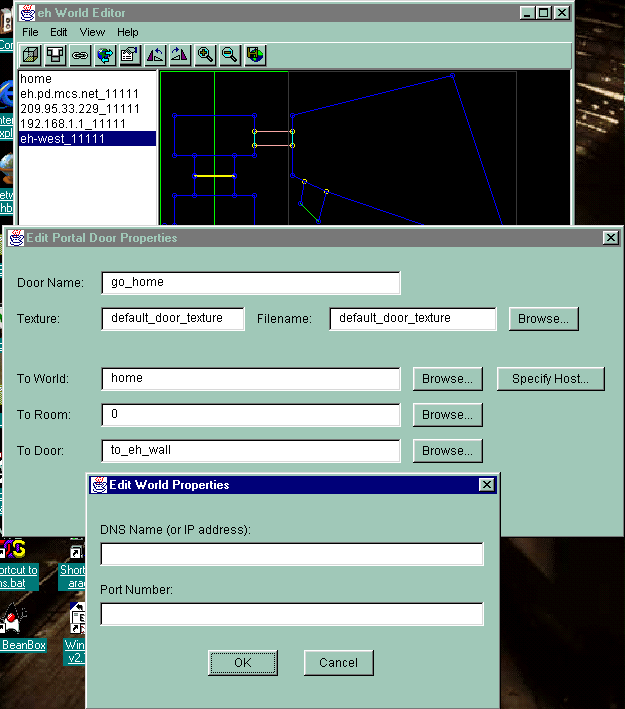
cache, the host/port and character/password values can be specified for the world by
double-clicking the row in the left pane and filling in the dialog.
NOTE: this information is not saved between editing
sessions. DNS host/port and character/password info must be specified in order to submit
editing changes to the corresponding world.
To edit a world, click on the world name in the left pane. The world will be loaded the
first time it is chosen, and displayed in the right pane for editing. Rooms, exits
(tunnels between rooms), and portals (regions leading to other worlds) can be added to and
removed from a world. Rooms can be moved (which causes attached exits and portals to be
automatically moved along) and any room, exit, or portal can have its properties edited
(by double-clicking and entering values in the resulting dialog).
NOTE: Currently only rooms, exits and portals can be
added; nothing can be removed; also there is no undo.
ehed, as a fundamentally 2-D editing tool, is designed to allow the addition of rooms
to a world only by importing structures previously created outside ehed (in VRML or eh's
native format), on the theory that 3rd party tools are better at creating and editing 3-D
objects than any 2-D tool, including ehed. Once a room is imported, it can be moved and
connected to other rooms or linked to other worlds by creating portals. Note that
connections between rooms (exits) and portals can be created only via ehed - there is no
capability or need to import these structures. Currently, rooms can be imported in VRML
and ehwt formats. (See the documentation
for vrml2eh for details on what constitutes a valid VRML structure for eh) Once
a change or set of changes to a world is made, those changes can be submitted to the world
server.
NOTE: Currently, to submit changes, you need to first
connect to the world using Edit|Connect, then submit the changes using Edit|Submit.
New rooms and exits are first created on the world server, then any drawing information
or other data associated with the new items are attached to the objects created there.
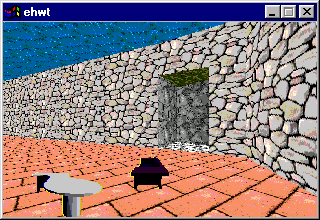
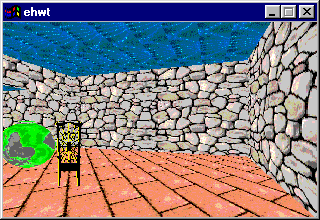
Here's a snapshot of what the room we'll be adding a new room and connecting exit to
looks like before we start:
- Load and display the world you want to edit by clicking on the world name in the left
pane. (
eh-west_11111 in this case)
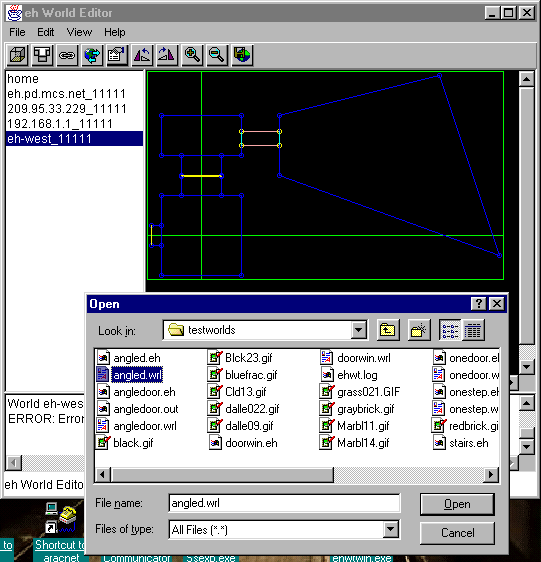
- Import the room you want to add into the selected world:
 | To connect two rooms together, you'll be selecting a wall from each room, each of which
will have a doorway carved into it leading to the other room via a tunnel (exit) that will
be generated by the editor. |
 | Select a wall from the first room. Create a vertex on the wall marking one side of the
doorway by pressing the ALT key while clicking on the point of the wall you wish to create
the vertex at. A dialog box asking for a name for the vertex will pop up. Enter a name for
the vertex (vertex1 in this case). |
 | Create a second vertex marking the other side of the doorway (vertex2 in this case). |
 | Now repeat using a wall on the other room (you can use the same vertex names for the
other room; the only requirement is that you don't use the same name more than once for a
particular room). |
 | Now click somewhere where there is nothing in order to make sure there is nothing
currently selected |
 | Holding down the Shift key, select the four vertices you just created, making sure
nothing else is selected |
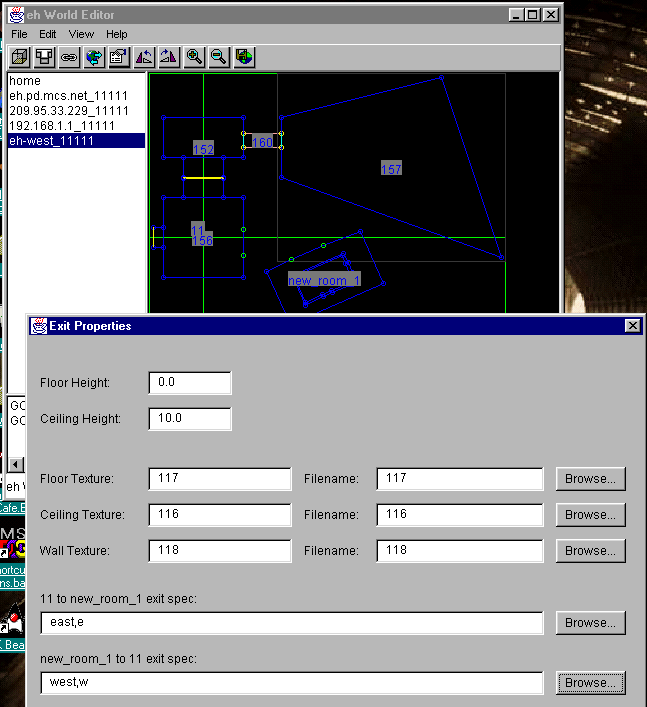
 | Now select the Edit|Add Exit menu item to bring up the Exit properties dialog. The wall
heights shown in the dialog are calculated to give you the maximum possible height for the
new tunnel taking into account the floor and ceiling levels of the rooms you're going to
connect. You can change these if you want, but if you choose a ceiling height higher than
the lower ceiling height of the two rooms or if you choose a floor height lower than the
highest floor height of the two rooms, your exit won't display correctly when rendered by
ehwt. Likewise, ehed will make a texture choice for you for the floor, ceiling and wall
textures of the new tunnel, based on the connecting rooms, so you don't need to change
these either, unless you want to. You do need to specify both exit specifiers, however,
and the Browse... button next to each of these fields will show you a list of common
choices. These will be the commands you type in the MOO to travel between the rooms, and
are necessary for exit creation on the MOO.
 |
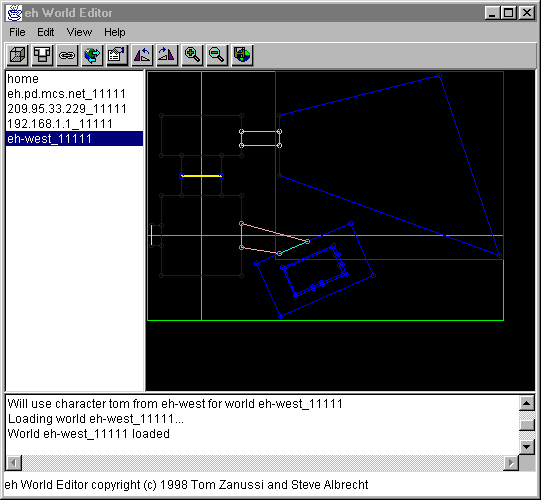
 | Press OK, and the exit will be created and will show up in the editing pane, if all went
well.
 |
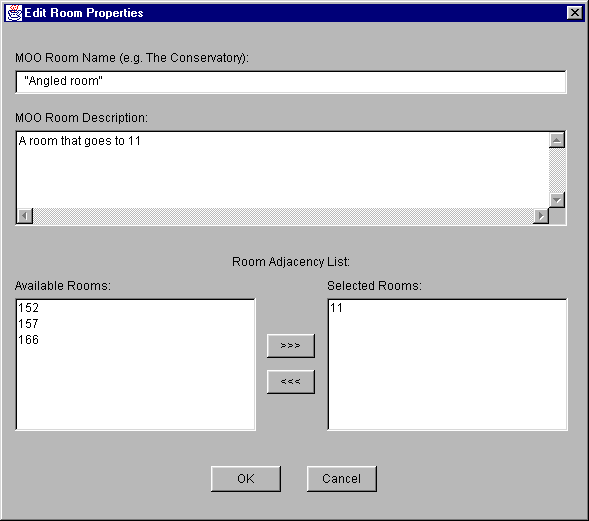
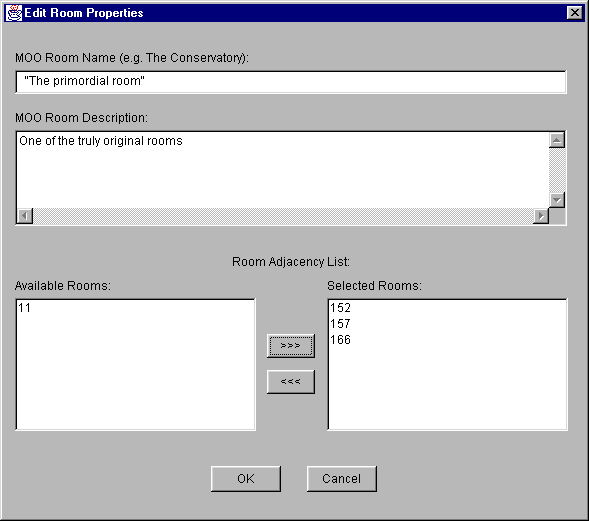
Once you've set up the adjacent rooms list, you can again submit the changes to the
world server. The room name and description can also be set in the room properties dialog.
The reason you want to leave setting the adjacent rooms list until after you've created
your rooms and exits is that the room ids used in the adjacent rooms list aren't available
until after the rooms and exits are created.
You should now be able to connect to the world server and see your new rooms and exits!
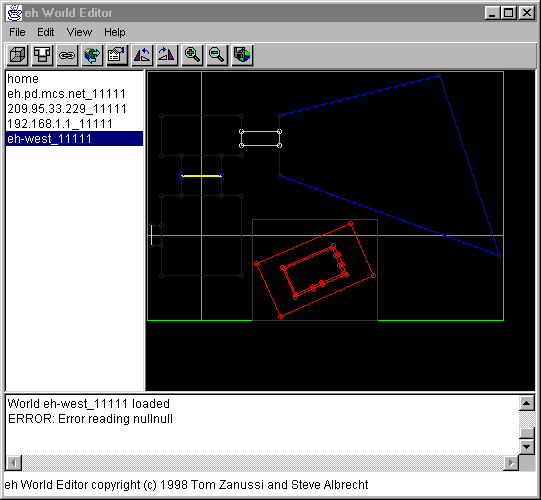
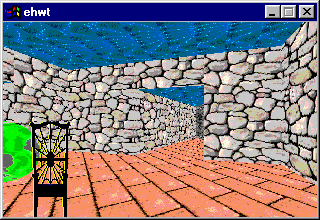
Here's a snapshot of the same room after the new room and exit are added. Walking
through the new exit gets you to the new room:
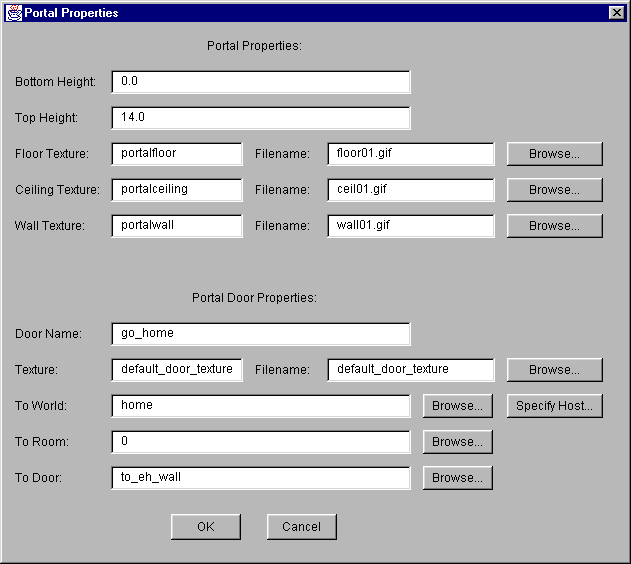
A portal is simply a doorway to another world. When your avatar enters the region
surrounding the door, it is transported to that world. To build a portal, you need
to specify the DNS name or IP address and port of the world you'll be transported to, the
room number within that world of the room you'll be entering, and the name of the door
within that room that you'll be entering. ehed will supply you with the worlds,
rooms, and doors it knows about, but you can also specify these manually if they don't
exist in your cache or if they don't exist yet.
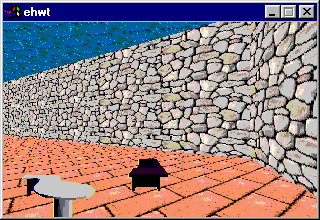
Here's a snapshot of what the room we'll be adding a new portal to looks like before we
start:
- Create the 4 vertices that will make up the boundaries of the portal:


